Before You Start
Open your File Explorer (Windows) or Finder (Mac) to make sure you can see OneDrive - University of Tennessee. If you do not have OneDrive set up, contact the Service Desk at 901.448.2222 for assistance.
Step 1: Mapping the Recording
We DO NOT recommend you save meeting recordings to the Zoom Cloud for two reasons.
- The Zoom Cloud is NOT HIPAA-compliant like OneDrive and SharePoint. Even if you think no one is going to mention HIPAA, FERPA, PII, etc. information, better safe than sorry.
- Recordings in the Zoom Cloud are generally deleted after 120 days. You don’t want to save a recording there, only to find it gone when you need it.
Printable Instructions
- Click on the Zoom app. You may need to complete these steps if you aren't already logged in:
- Click Sign In.
- Click Sign In with SSO.
- Type tennessee in Company Domain (tennessee must be all lowercase).
- Click Continue.
- Type your NetID and password.
- Click LOGIN.
- Click on the gear icon
 .
.
- Click Recording.
- Click Change (Mac Users: Click in the box to the left of Open then click Choose New Location).
- Double click OneDrive - University of Tennessee.
- Choose the desired folder for storage.
- Click OK (Mac Users: Click Choose).
- Click the X to close the Settings window.
Zoom must be mapped for every video because the software goes back to the default setting after the recording is saved.
Step 2: Record the Meeting
- Start the Zoom meeting.
- Click the Record icon at the bottom of the screen.
- Choose Record on this Computer. Do not choose the Zoom cloud option.
- Once you end the meeting, the recording will begin converting.
- Once the conversion is complete, the folder you selected for storage is opened.
Step 3: Convert the Recording to a URL for Sharing
- Log in to My Mediasite using your NetID and password.
- Click the Add Media button in the upper right corner.
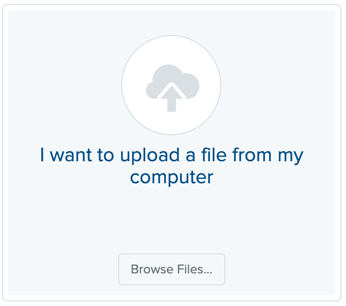
- Choose I want to upload a file from my computer.
- Double click on OneDrive - University of Tennessee and locate the folder where you saved the recording.
- Double click on the saved recording file.
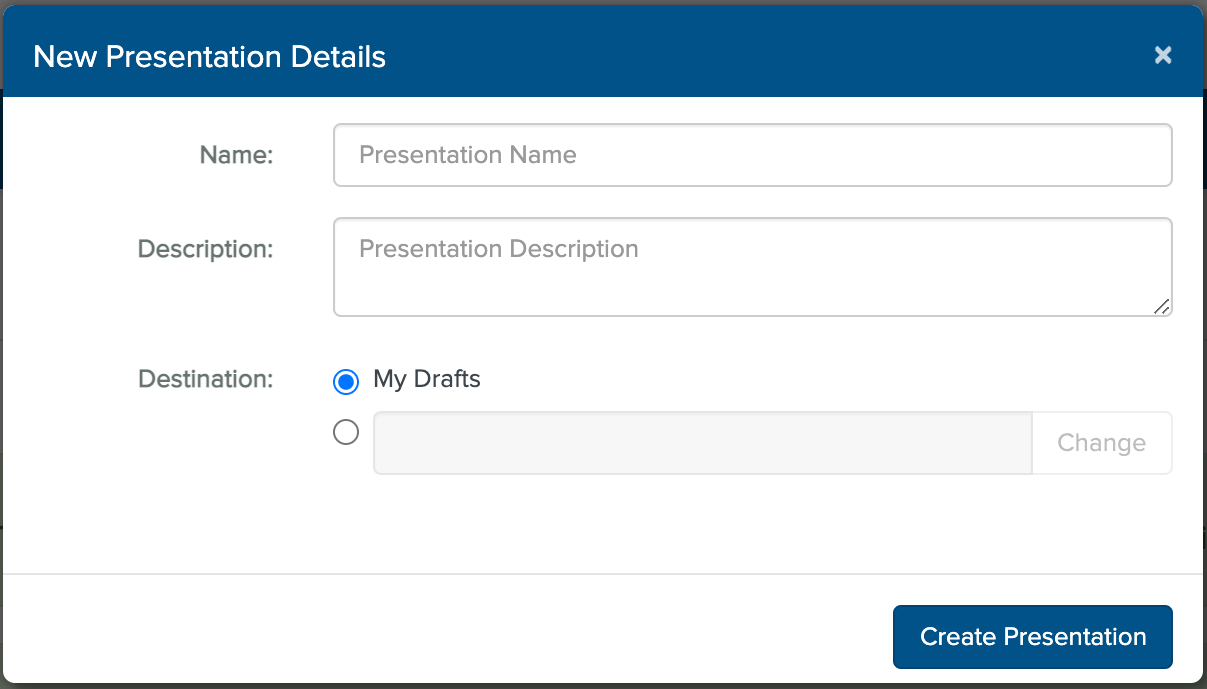
- Enter the presentation name and description (optional) and click the Create Presentation button.
- As your file is uploading, you will see the following screen:
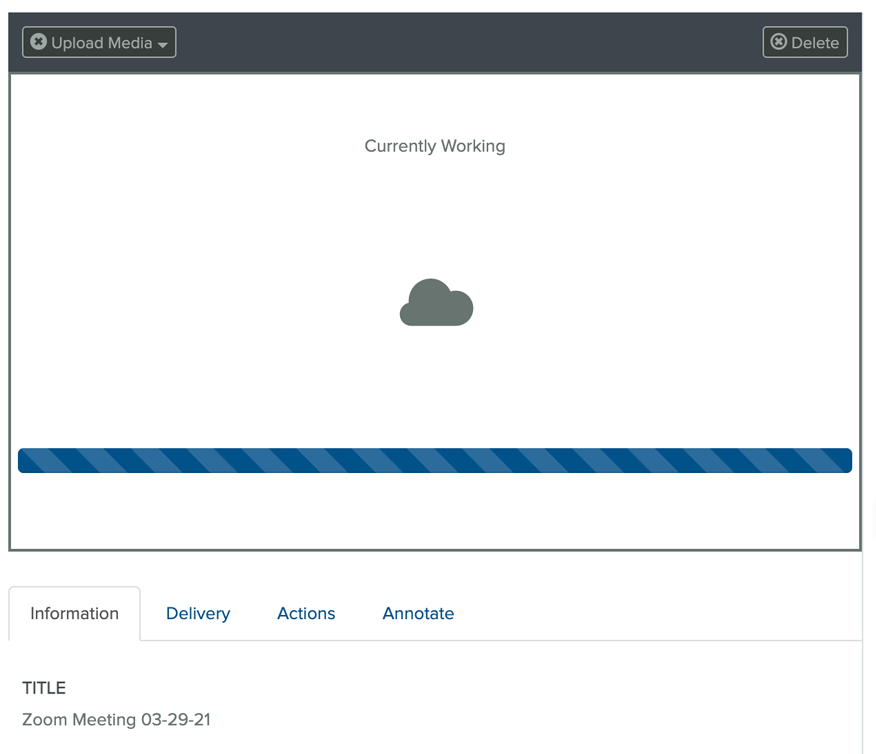
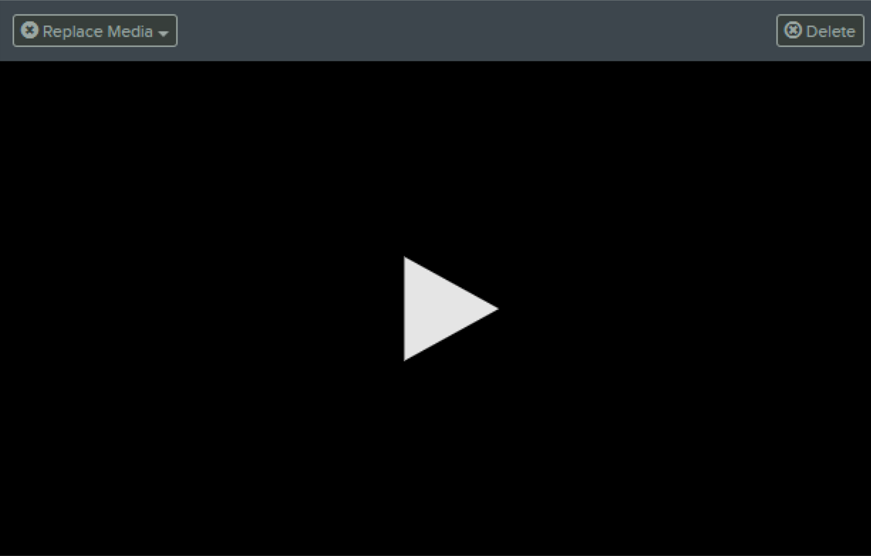
- Stay on this page until the upload is complete to avoid problems. Once the upload is complete, you must refresh the page (to allows you to update who can view the recording). The screen will display a play button:
- Click My Presentations on the left.
- Click on your presentation filename.
- Locate the “Who Can View?” section on the right. Slide the button up to My Organization to make it available to UTHSC users. This will require viewers to log in with a NetID and password.
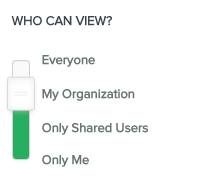
If you have viewers outside of UTHSC, you can set it to Everyone to remove the required UTHSC login.
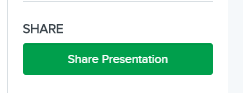
- Click the Share Presentation button to get a URL to send to viewers through email..
- Click the Copy button to copy the presentation link.

- Click the X to close the dialog box.
- You can now go to email and paste that URL in.
Add a Recording to a Website
If this recording needs to be added to a webpage (example: Grand Rounds), email that request with the URL copied in My Mediasite to your communications coordinator or webmaster@uthsc.edu.